Git in VS Code
Overview
Teaching: 35 min
Exercises: 0 minQuestions
How does one initialise a repository within VS Code?
How does one stage and commit within VS Code?
Objectives
Clone a repository from within VS Code
Stage, commit and push within VS Code
Create branches from within VS Code
Introduction
In the previous episode we refreshed our memory on how to do Git things from the command line. However, it is possible to do te same things from within VS Code by just clicking a button.
Cloning
Let’s start by cloning the project we have been working on again. Remember that this will create a second copy of the project on your hard drive. For this reason we have to give it a different name.
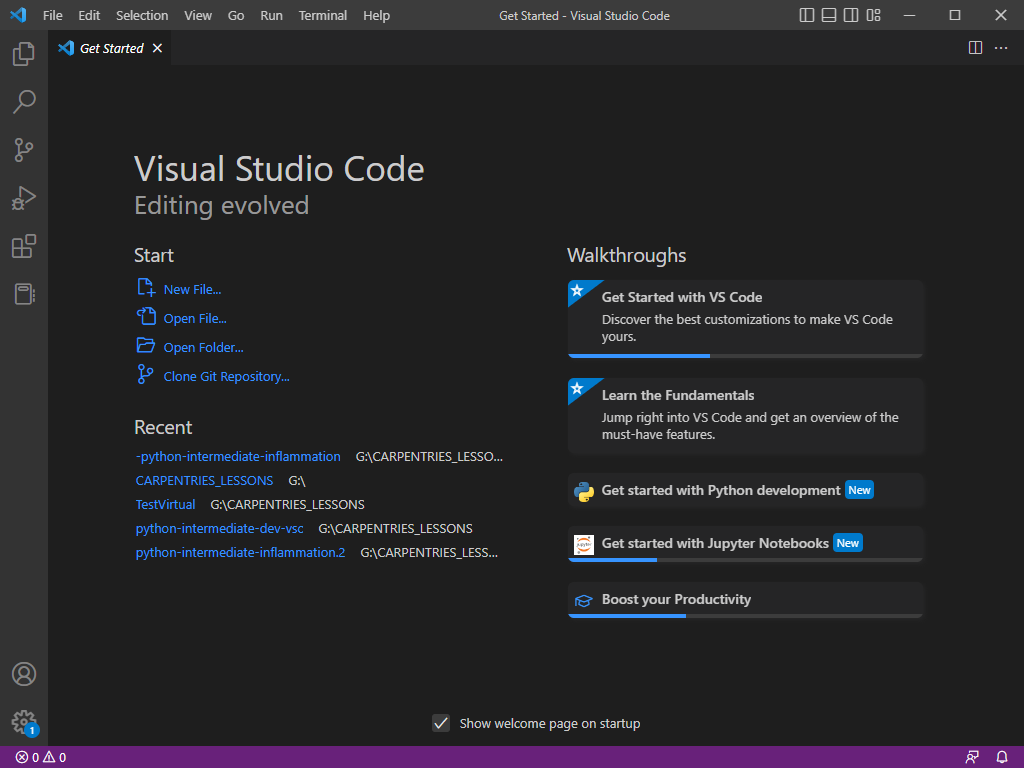
Start by opening a new VS Code window. Click on the File menu item and then on New Window.
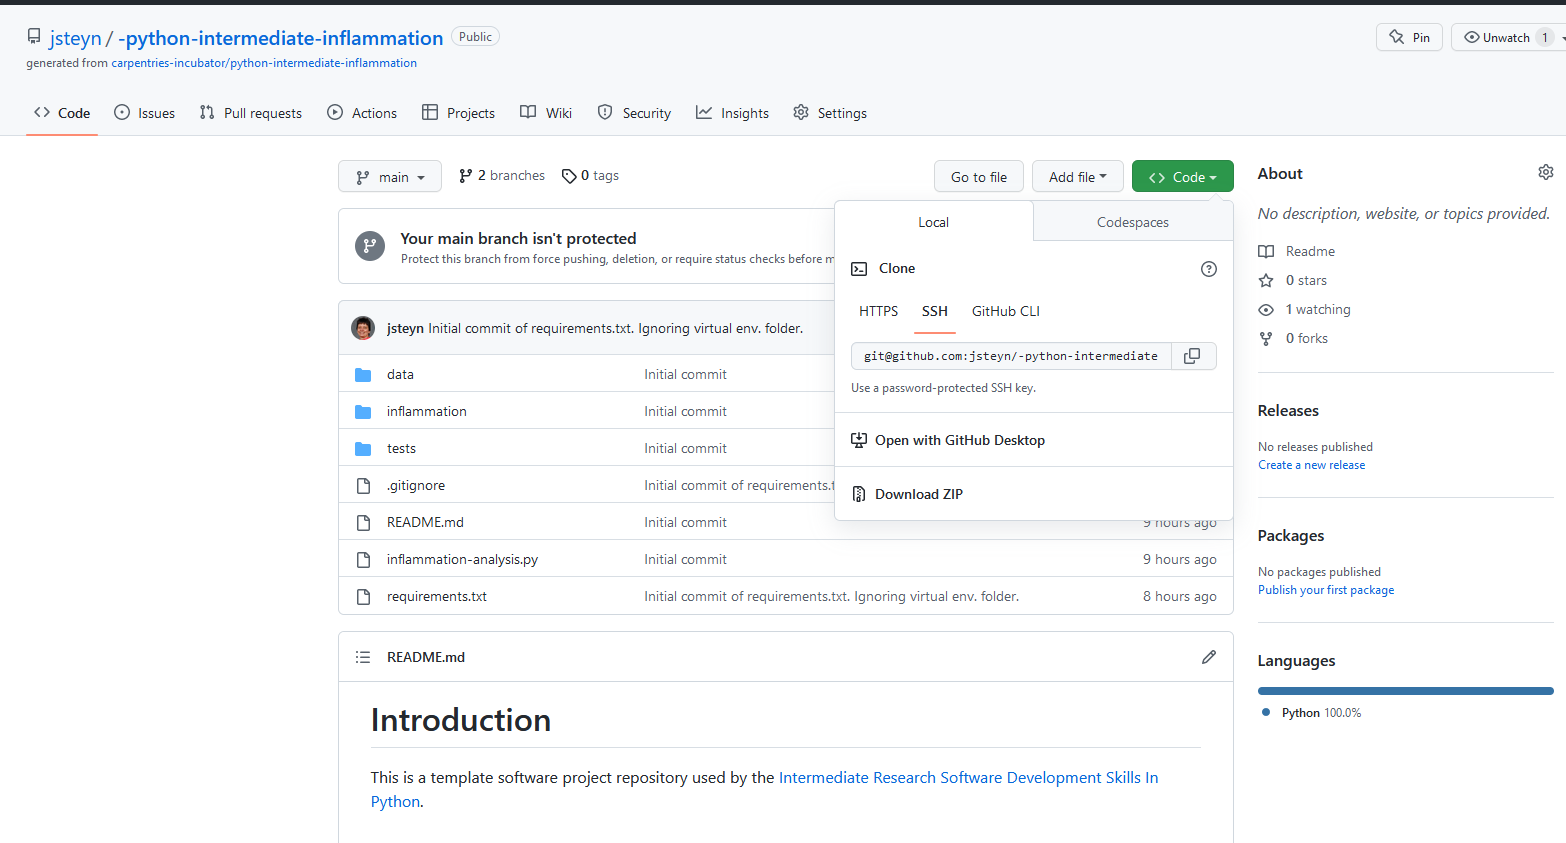
Navigate to your GitHub repository in your browser and click on the green ‘Clone’ button. Make sure the SSH tab is selected
and copy the URL, which should start with git@github in the text area. You can copy the URL by clicking the little copy
icon just to the right of the text area.
Back in VS Code’s new window, in the editor area, you should see an option ‘Clone Git Repository.
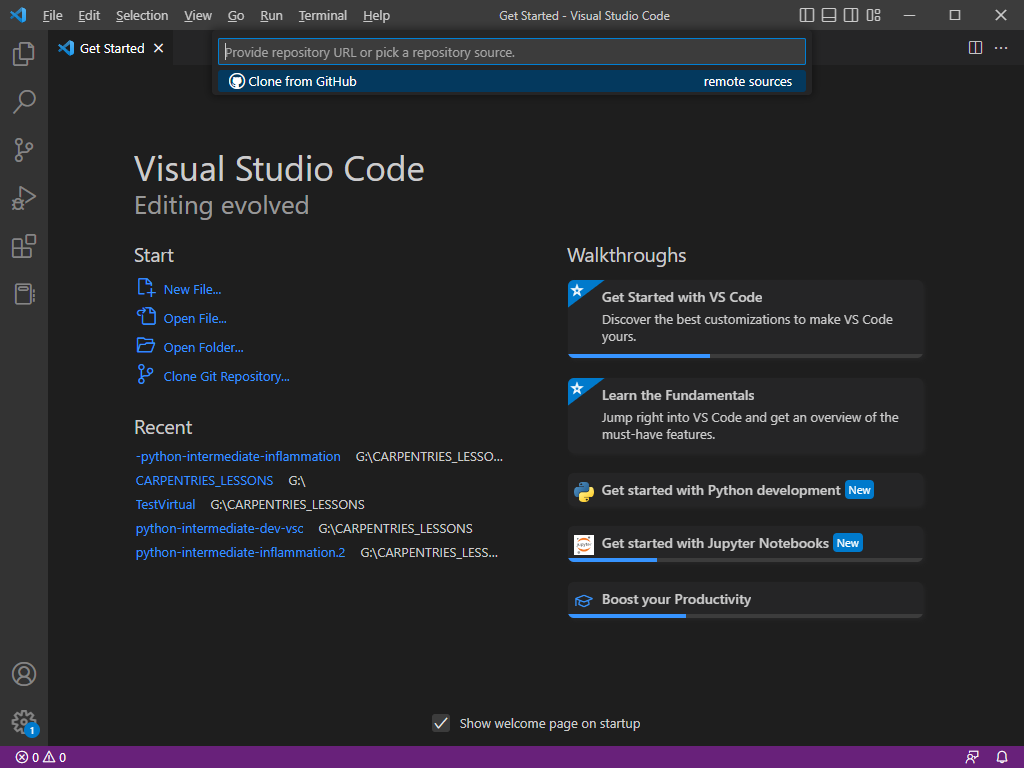
In the text area at the top you can now enter the URL of the git repository. Click on Clone from URL. You now have to select a
directory for the repository to be cloned. You can create it in the same main directory in which you clone the first instance
of the repository but we will give it a new name so that it doesn’t clash in any way. Make sure you don’t create it within the previous
repository, you just want it on the same hierachical level. VS Code will notice that a repository with the name python-intermediate-inflammation
already exists and it will clone this new instance with the name python-intermediate-inflammation-1. VS Code will also ask you whether
you want to open the new folder. You can click Open to this question and the project will be openened for you.
The changes you made in the previous lesson were pushed to the GitHub repository so those changes will be in this new instance of the lesson material.
Let’s repeat a few of the git actions we did before, this time not from the command line but with VS Code features.
Creating a virtual environment
- Press Ctrl+Shift+P
- Find and click
Python: Create Environment - Click
Venv - Select Python interpreter (3.9.# if possible)
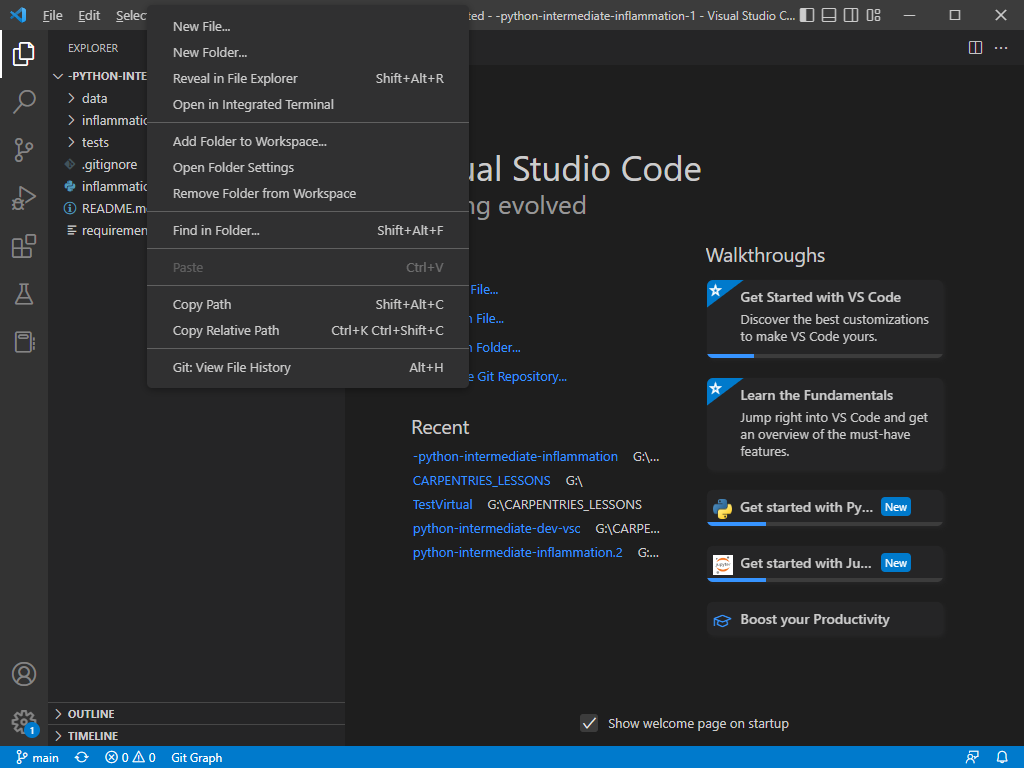
Creating a new folder
Right click in the side bar and select New Folder. Call the new folder results.
Usually we don’t want results added to
version control so add results/ to the .gitignore file. See if you can do this by yourself.
Exercise: Add the
resultsfolder to .gitignoreOpen the .gitignore file and add
results/Solution
- Click on .gitignore in the Side Bar, to open the file in the editor area.
- Add the following text at the bottom of the file:
# Results Folder results- Press Ctrl+S to save the file
Making sense of the VS Code window
You might notice that the moment you save the file, a small blue circle with a 1 in it appears over the Source Control
button in the Activity Bar. From this we can see that there is one untracked change. Click on the Source Control button.
Take a moment to study the source control items in the Side Bar.
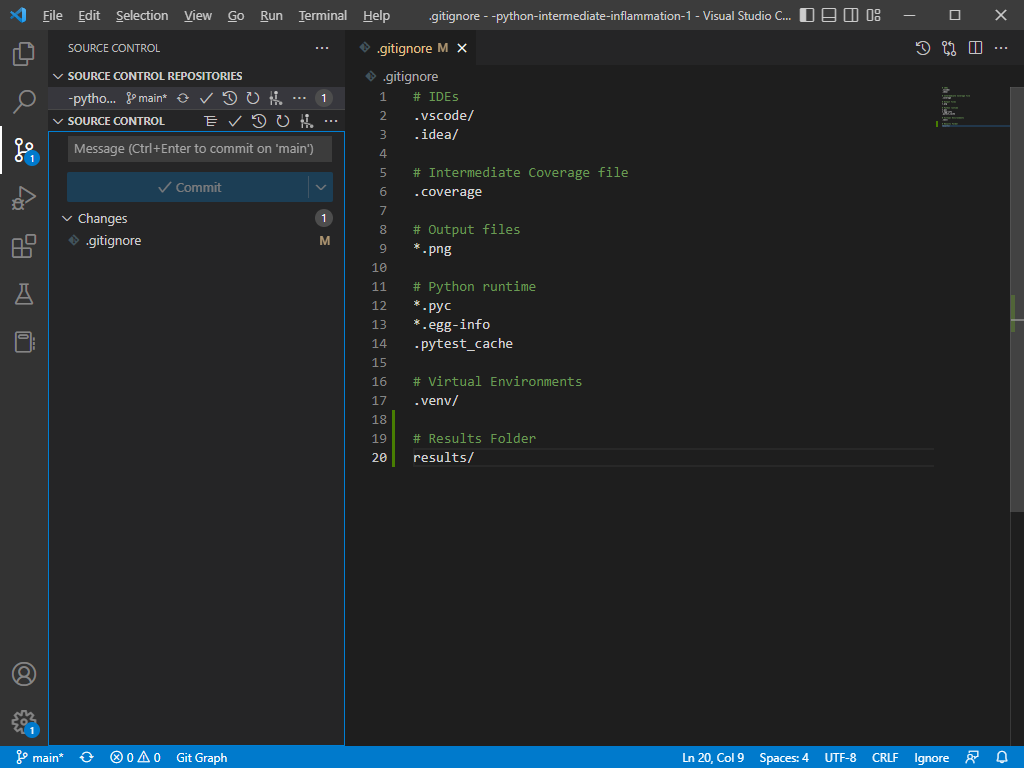
- Below the heading
SOURCE CONTROL REPOSITORIESwe can see the name of our repository,python-intermediate-inflammation-1 - Below the second heading,
SOURCE CONTROL, there is a text area. - There is a
Commitbutton that is inactive - Then you should see the title
Changesand to the right of it a1in a circle - You should see
.gitignoreand to the right of it anM - In the bottom left hand corner of the screen you should see the source control icon and next to it the word
main
From this information we can tell that:
- we are working on the
python-intermediate-inflammation-1 - One file (indicated by the
1next to theChangesheading),.gitignore, had been modified (hence theMnext to it), but the change has not been staged - The word
mainin the bottom left hand corner of the screen tells us that we are on the main branch
Commit and Push
Remember the order of getting things into the repository?
- Stage the file/s by adding it
- Commit the file with a message
- Push the file to GitHub
To do this from VS Code, first hover over the .gitignore file in the Side Bar. You’ll notice three more icons to the left of the M. The first icon is for opening the file, the second for reverting all changes and the third, the + is for staging the file. Click the +. The heading that used to say Changes, now changed to Staged Changes. The Commit button is now active. Enter the commit message, Ignore results folder, in the text area above the Commit button and then click the Commit button. Next to the repository name there should be a button with three dots, .... Click the button and then click Push on the pop-up menu.
In the side bar you should now notice that there are not files that are changed. To verify that things have happened as we would expect, you can open
a terminal and type git status, which should result in the following message:
On branch main
Your branch is up to date with 'origin/main'.

nothing to commit, working tree clean
Create a new branch
To create a new branch, just click on the word main in the bottom left hand corner of the window. At the top of the
window a text area and a drop-down menu will appear:

You could now select any other branch such as develop but let’s create a new branch to see how it is done. Enter issue #1 in the text area and then click Create new branch. At the bottom of the window you will see that main has been replaced and that we are now on the issue #1 branch. In the Side Bar there is now a new button Publish Branch. We won’t publish yet. Let’s first add something. We’ll have you do that as an exercise:
Exercise: Make changes, commit and push
Using VS Code’s features complete the following tasks on the
issue #1branch:
- Creat a new file and call it
temperature.py- Add the following code to the file:
def fahr_to_celcius(fahr_temp): return (fahr_temp -32) * 5 / 9 print(fahr_to_celcius(40))- Run the script and jot down the answer you get from the print statement
- ge and commit the file with the message
Address issue #1.- Publish the changes to GitHub and check in the GitHub repository whether your changes are reflected there
- Use VS Code to merge the
issue #1branch into the main branchSolution
- In the activity bar select the Explorer button
- On the menu, click
Fileand thenNew File- Enter
temperature.pyas the filename and press enter- Copy the code into the editor and press Ctrl+S to save it
- Run the script by clicking the
Run Python Filein the top right corner of the window- The answer you get in the terminal should be
-40.0- Click on the
Source Controlbutton in the Activity Bar- In the Activity Bar next to the filename,
temperature.pyclick the+button to stage the file- Enter the message
Address issue #1and press theCommit Button- Click the three dots,
...next to the repository name and selectPushfrom the menu- Switch to the main branch by clickin on
issue #1in the bottom left hand corner of the window and then selectmain- Click the three dots,
...next to the repository name and selectBranchand then ‘Merge Branch’ from the menu- Select the
issue #1branch- Press the
Sync Changesbutton- To delete the branch remotely (on GitHub), type
git push origin --delete issue-#1in a terminal
Key Points
Working with Git within VS Code